Top 10 Eyeshadow Tips For Beginners

If the prospect of trying eyeshadow seems daunting, you may be in need of a few eye makeup tips for beginners. Fortunately, we’ve got all the best tips on how to get started - so if you’re ready, bookmark this guide to eyeshadow tips for beginners - and let’s dive in.
1. Create Contrast
On the colour wheel, shades that sit next to or directly opposite each other are either complementary, contrasting or analogous (i.e. colours that “bring out your eyes”).
If they aren’t, they clash - which isn’t necessarily a bad thing (if done purposefully), but since this is a guide to eyeshadow tips for beginners,we’ll stick to a more harmonious look (for now!).
2. Choose Your Colour
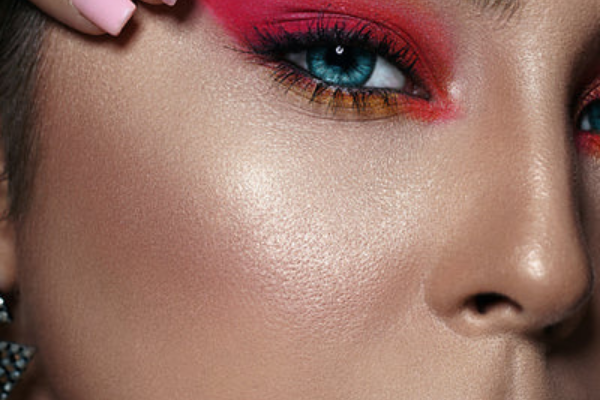
Take your pick from metallics, brights, or nudes. Nude colour palettes tend to suit every eye colour there is- but when it comes to colour, general, hazel, green or brown eyes tend to suit shades like green, purple or blue, while their best metallics are gold or copper. Blue or grey eyes tend to suit red, yellow or orange in addition to varying shades of silver (platinum for dark eyes, pewter for light).
3. Formula 1(01)
Eyeshadows come in a range of formulas - but for newbies, some might be a little more difficult to work with than others - so here’s a brief guide to them from easiest to hardest:
Pressed Powders
Portable and easy-to-blend, these can be found either alongside others in a palette, or as “mono” single shades.
Stick Formulas
For makeup lovers on the go, brushless, easy-to-apply stick formulas are your friend. These tend to fade quickly, but have more staying power than cream shadows.
Creams Liquids and Glosses
Cream formulas tend to work best as a single colour, or when combined with powder to make the pigment last longer, although they tend to crease, fade or smear easily - so prime well.
Loose Powders
If you want super-pigmented colour, loose powders are your best pick - but they can get a little messy. For a dramatic effect - and to minimise the risk of “fall out”, wetting your brush beforehand can help the colour to stick with minimal mess and maximum impact.
4. Selecting your tools
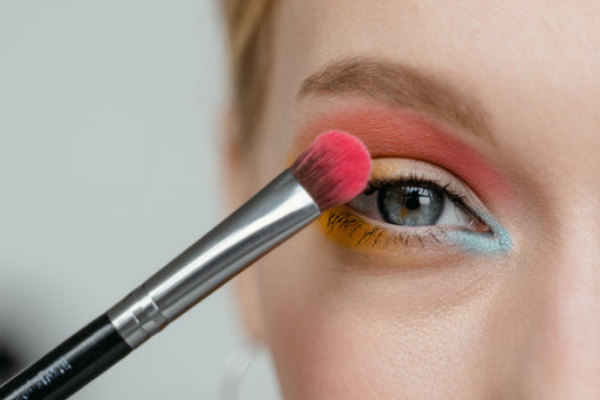
Makeup brushes come in a range of shapes, sizes and materials - but since these are eye makeup tips for beginners, we’ll keep things relatively simple. To start with, you’ll need one of each:
- A short-haired synthetic brush for application on the lids
- A fluffy, domed brush to blend
- A rounded brush with dense bristles for lining beneath the eyes
5. Shape Up
Eye shapes tend to be one of five types: round, monolid, downturned, upturned or almond.
The type that you have will impact how you apply your makeup:
- Round eyes can be identified by visible white areas on the top and bottom of the iris. Using liner in the waterline can help define your eyes and even elongate them slightly.
- Monolid eyes tend not to show the crease of the eye when they are open, which can tend to make your colour disappear - quite literally - in a blink. Apply eyeshadow with your eyes open in an “up and out” motion, smudging a little colour along the lower lashes for added definition.
- Downturned eyes (as the name suggests) turn slightly down at the corners. To accentuate these, follow the shape of the eye in a straight motion with the eyeliner (as opposed to a curved line) by “cheating” the outer edge before smudging out the lower lashes in the same direction using the darker colour or your favourite liner.
- Upturned eyes and liquid liner are a match made in heaven - so if this is you, it may be time to perfect that cat eye look.
- Hooded eyes have a tendency to transfer makeup elsewhere once open - so to avoid smudging, try using waterproof formulas that won’t budge, followed by a dash of highlighter on the inner corners and just beneath the brow bone.
- Almond eyes have a visible crease on the lids, with an iris that touches white on both top and bottom. Some almond shaped eyes may also be slightly upturned. These work well with a gorgeous smokey eye, fringed with lush lashes (either false ones, or your own).
6. Application
If you’re not quite ready for a full-on smokey eye, you can keep it simple with a monochromatic look (a single swipe of colour on the lids) - or get blending with this fool-proof cut-crease technique:
Base And Crease
Before anything else (including your foundation) - you need to start with clean skin - including your eyelids, as this is where natural oils can collect, affecting the overall look of your makeup. Be very gentle when cleansing the eye area, as the skin here is especially delicate.
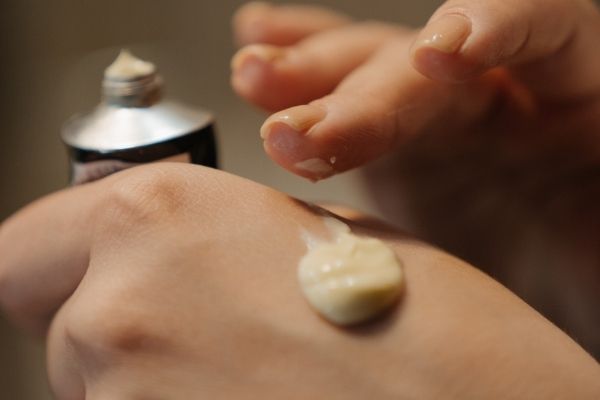
Apply Your Primer
This can be a specially-made eyeshadow primer, or something like a cream eyeshadow - either way, use something with a little “tack”.
Create Your Canvas
If you haven’t already done so, adding concealer to your eyelids will help to neutralise any redness while creating a smoother canvas for your makeup. Concealer can be used to brighten and define -and also help to clean up any messy edges you might have.
Colour Correct
Rather than using the same concealer all over your face, you might wish to use a slightly lighter or colour-correcting concealer depending on your needs. Follow with a touch of foundation.
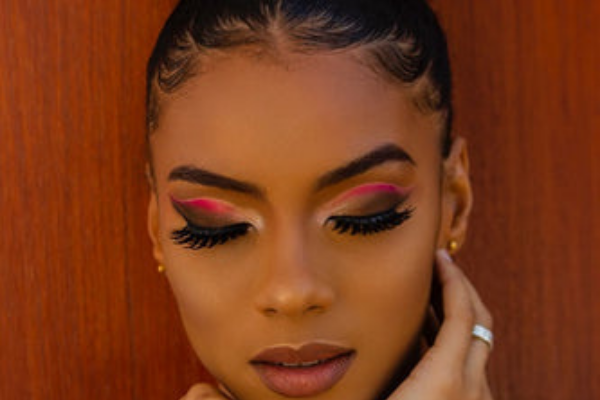
Select your Colours
Use three contrasting hues in a range of shades: a light base colour for all over the lid, a medium-toned colour, a darker colour to help add definition - and a highlighter colour in a pale, shimmery hue.
Base Colour
Apply your base colour to your lid - for daytime looks, stop at the crease of your eye (the natural fold in your eyelid where the top edge of your eyeball is). For more dramatic night-time looks, apply all the way to the brow bone (just under the outer corner of your eyebrow).
Medium Shade
Next, sweep your medium-toned shade along the eye socket, following the natural crease of your eye.
Darkest Shade
If you’re going for a daytime look, feel free to use just the two shades - but for added impact, a darker shade applied over the lash line looks stunning - especially when paired with eyeliner.
Press the darkest of the three shades along the lash line and the edges of your upper eyelid (where the lashes begin) using your smaller makeup brush - but be careful of your waterline.
Highlighter
Highlighter can then be used to add the perfect finishing touch to your look. Placing this on the brow bone will help give your eyes a lift, while using it in the corners can help eyes appear brighter. For smaller eyes, adding highlighter between the nose and eyes can help to make them appear slightly larger and wider-set.
And that’s it! Finish with your favourite mascara and you’re good to go.
Additional Tips and tricks
Now that we’ve got the basics covered, here’s a few more more eyeshadow tips and tricks:
7. Blending
- If blending leaves you baffled, “drawing” stripes of colour down your lid (before tapping and blending them out using a densely bristled brush) can help act as a guide.
- Avoid overblending, as this will muddy the effect of your look, creating a patchy, uneven look.
8. Fixing Mistakes
- Eyeshadow “fall-out” is where speckles of pigment end up on your cheeks. Here you have two options: either pat some translucent powder under your eyes (before dusting away with a clean brush, or apply your eyeshadow first before your foundation and powder.
- If you smudge your eye makeup, you don’t have to start over: makeup artist Wayne Goss advises using a wet-wipe to create a clever cat-eye before blending in a little foundation to any face makeup you might have removed.
9. Adding Definition
- For defined eyes, place colour into the crease of your eye while they’re still open so as not to apply too far out and to keep the look neat.
- When applying eyeshadow, don’t forget to smudge a little of the darker colour along your lower lashes. If you have small eyes, a great tip is to use a beige-coloured eyeliner to help open them up.
10. Setting Your Eye Makeup
- Setting spray can also help to fix your eye makeup in place - but keep in mind it may not work as well on oily skins, which have a tendency to break down setting spray formula - instead, fix everything with a fine dusting of translucent powder.


Comments